×
- Hello
- Login or Register
- Quick Links
- Live Chat
- Track Order
- Parts Availability
- RMA
- Help Center
- Contact Us
- Shop for
- Mitsubishi Parts

My Garage
My Account
Cart
Fuel Supply
2006 Mitsubishi Lancer Fuel Pump, Throttle Position Sensor, Fuel Tank, Fuel Filler Neck
Currently shopping for
2006 Mitsubishi Lancer
Change VehicleCategories Close X
Currently selected
Air & Fuel Delivery
Other Categories
A/C & Heating
Belts & Cooling
Body & Hardware
Brakes
Charging & Starting
Driveline & Axles
Electrical
Emission Control & Exhaust
Engine
Headlights & Lighting
Interior & Exterior Trim
Maintenance & Lubrication
Steering
Suspension
Transmission
Categories Close X
How to use OE catalog
2 diagrams found for the vehicle you selected.Select your vehicle options to narrow down results.
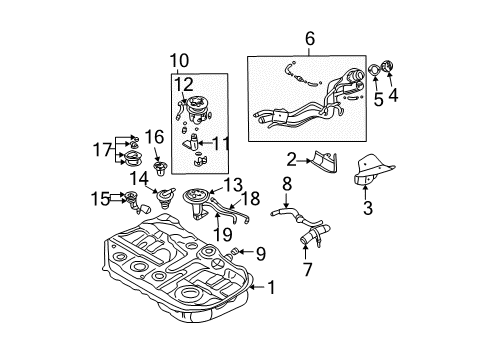
- 1.Fuel System - Fuel System Components (ES,OZ Rally,Ralliart,SE)
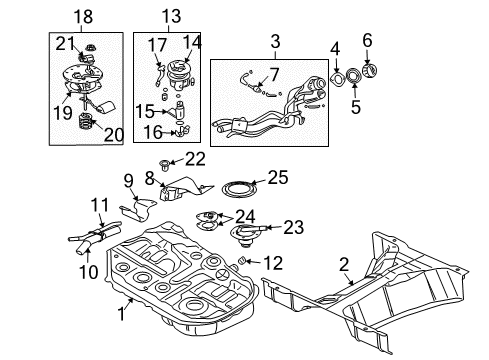
- 2.Fuel System - Fuel System Components (Evolution,Evolution MR,Evolution RS,Evolution SE)
Sort by:
Ref No.
Ref No.
Part No. & Part Description
Price & Qty.
Part No. &
Part Description
Part Description
- 1
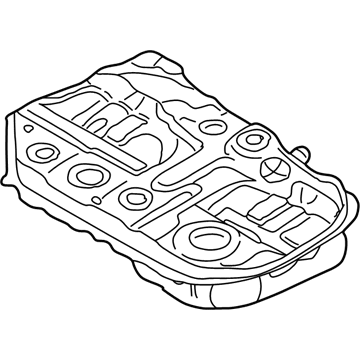
- 3

- 4

- 6

- 7
 $61.13 $44.001
- 7

- 8
 $46.78 $35.651
- 9

- 10
 $652.17 $461.731
- 12
 $8.53 $6.551
- 13

- 14
 $28.55 $21.931
- 14
 $94.63 $68.141
- 15

- 16
 $14.22 $10.931
- 16
 $80.43 $57.911
- 17

- 19
 $15.75 $12.101
- 20

- 21
 $208.15 $153.611
- 22
 $80.43 $57.911
- 23
 $75.63 $54.461
- 25
 $19.47 $14.951
- $68.64 $49.421
- $76.22 $54.881
OEM 2006 Mitsubishi Lancer Parts for Fuel Supply
The OEM parts are quite popular due to their reliable quality. The Fuel Supply parts are made by Mitsubishi and made as per the factory specifications and tested at the production phase. We have all the replacement OEM 2006 Mitsubishi Lancer parts you need. Our authentic OEM 2006 Mitsubishi Lancer Fuel Pump, Throttle Position Sensor, Fuel Tank, Fuel Filler Neck components are reasonably priced with the manufacturer's warranty. Our delivery is very fast that will generate a smooth shopping experience and we have an easy to use return policy if there are any issues. Don't wait, shop with us today to get the quality parts you need!
Fuel Tank Installation and Repair Tips for 2006 Mitsubishi Lancer
- Q:How to remove and install the fuel tank on 2006 Mitsubishi Lancer?A:Turn off fuel pressure, and disconnect negative battery. Take off rear seat cushion and access covers, disconnect fuel pump/gauge wiring. Lift car, empty tank and change sealing washer. Disconnect exhaust (CG/CH), handbrake cable, ABS wiring and fuel hoses. Unbolt and support the tank, lower it. Install cleaned tank, fasteners, reconnect hoses and wiring.